How To: Get All the LG G2 Knock Knock Features on Your Nexus 5 for Faster Sleep/Wake
Probably one of the most sought after features of the LG G2 is its "Knock Knock" capabilities. Rather than dealing with that pesky power button, you simply double-tap portions of the screen to either sleep or wake your device.The G2 is the Nexus 5's bigger brother of sorts, as it was developed by the same manufacturer at the same time. Aside from a slightly larger screen, most all of the internals are virtually identical to those of the Nexus 5.Today, we'll bring the similarities one step closer by porting all of those Knock Knock features to the Nexus 5, much like Andrew showed how to do for the HTC One. Please enable JavaScript to watch this video.
What Exactly Is Knock Knock?Both waking the phone and putting it back to sleep can be done through a simple double-tap gesture. Depending on the screen you're currently in, the placement of this gesture varies. These are the four main Knock Knock gestures:Knock On: When your phone is asleep (screen off), simply double-tap anywhere on the screen to wake it. Home Screen Knock Off: From anywhere on your home screen, double-tap an empty space to turn your screen off. Status Bar Knock Off: If you're in an app and the home screen is not immediately accessible to you, double-tap on the status bar at the top of the screen to put your device to sleep. Lock Screen Knock Off: If you've just double-tapped the screen to wake your device, but just wanted to glance at the time or your notifications, you can double-tap again on the lock screen to put the phone back to sleep.
What You'll Need for This softModRooted Nexus 5 Custom recovery Xposed Framework Custom launcher The custom launcher must allow home screen gestures. Nova and Apex are the most popular today, but only Apex offers the required gesture with the free version.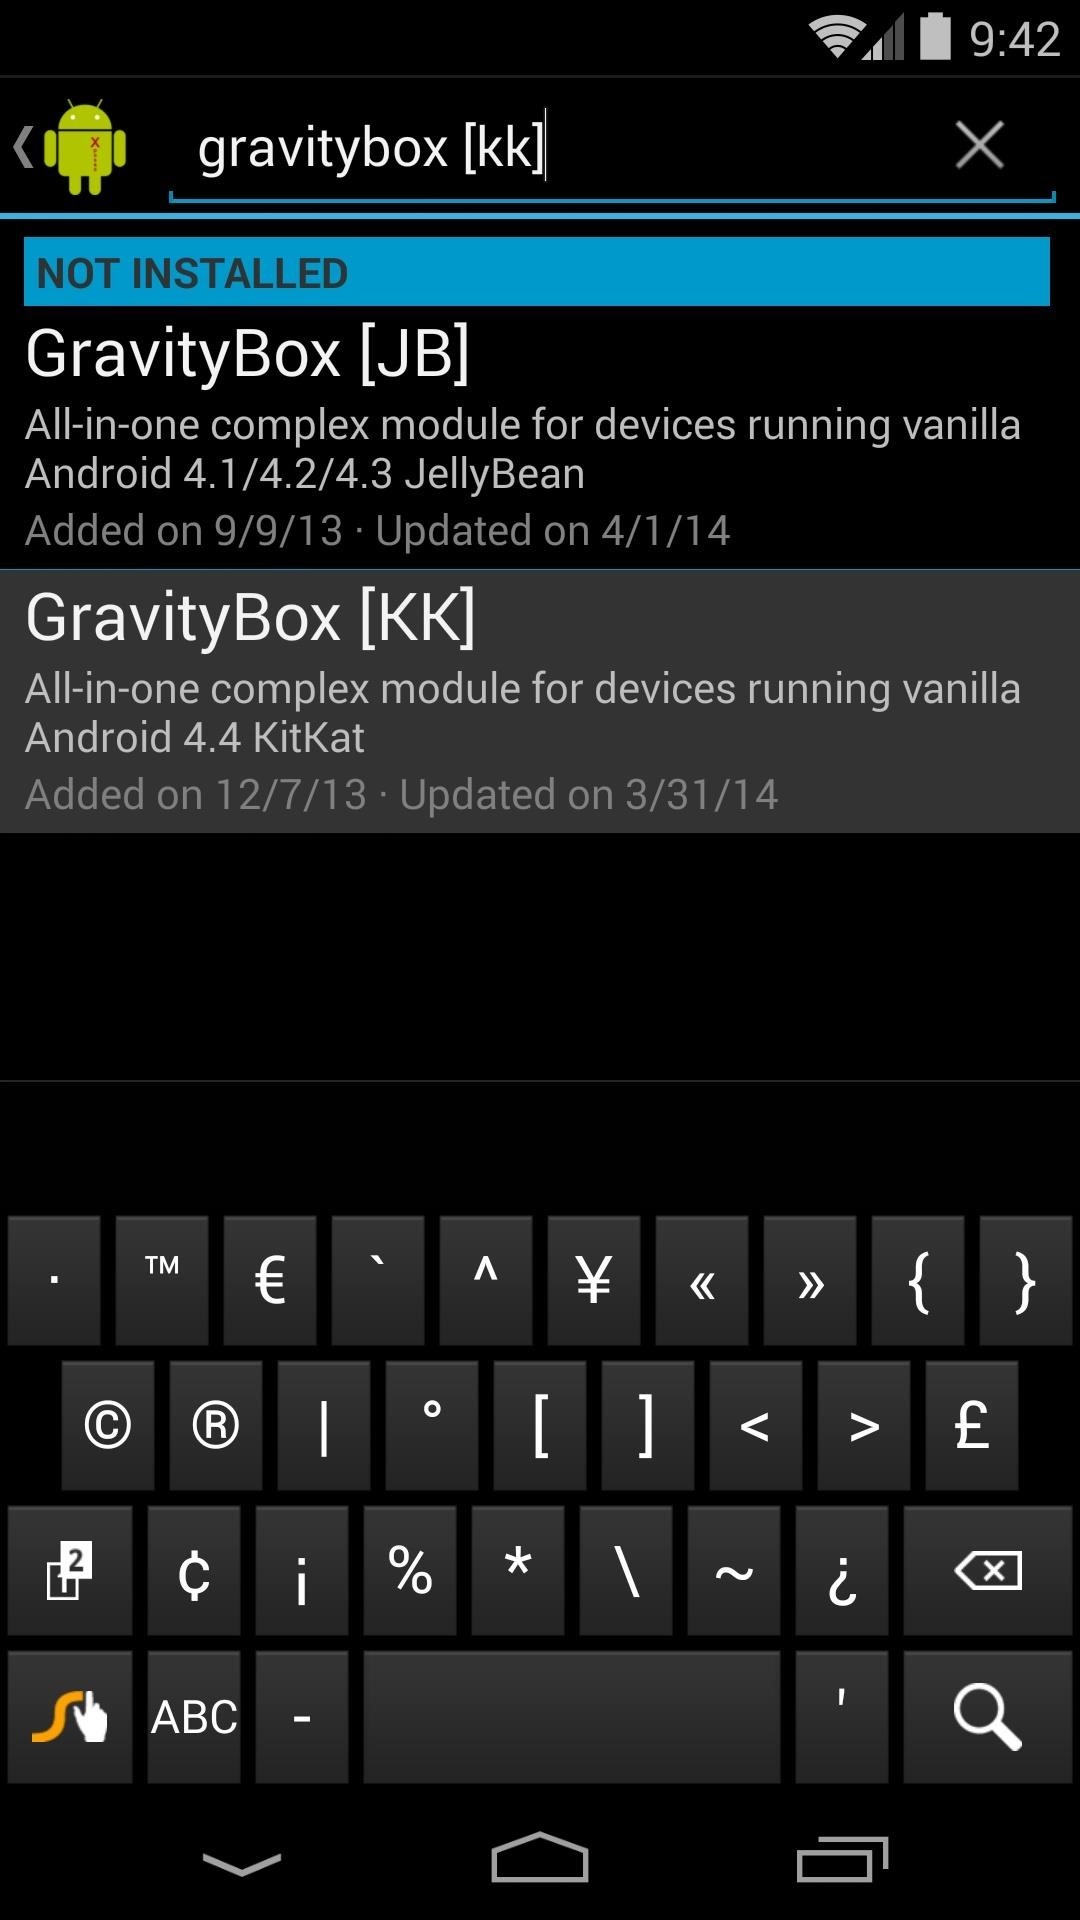
Step 1: Install GravityBoxFrom the Xposed Installer app, head into the Downloads section and search "GravityBox [KK]". Make sure to select the "[KK]" (KitKat) version, as this is the correct module for your Nexus 5. From there, tap Download and follow the prompts for installation. Once installed, be sure to activate the module to get things up and running.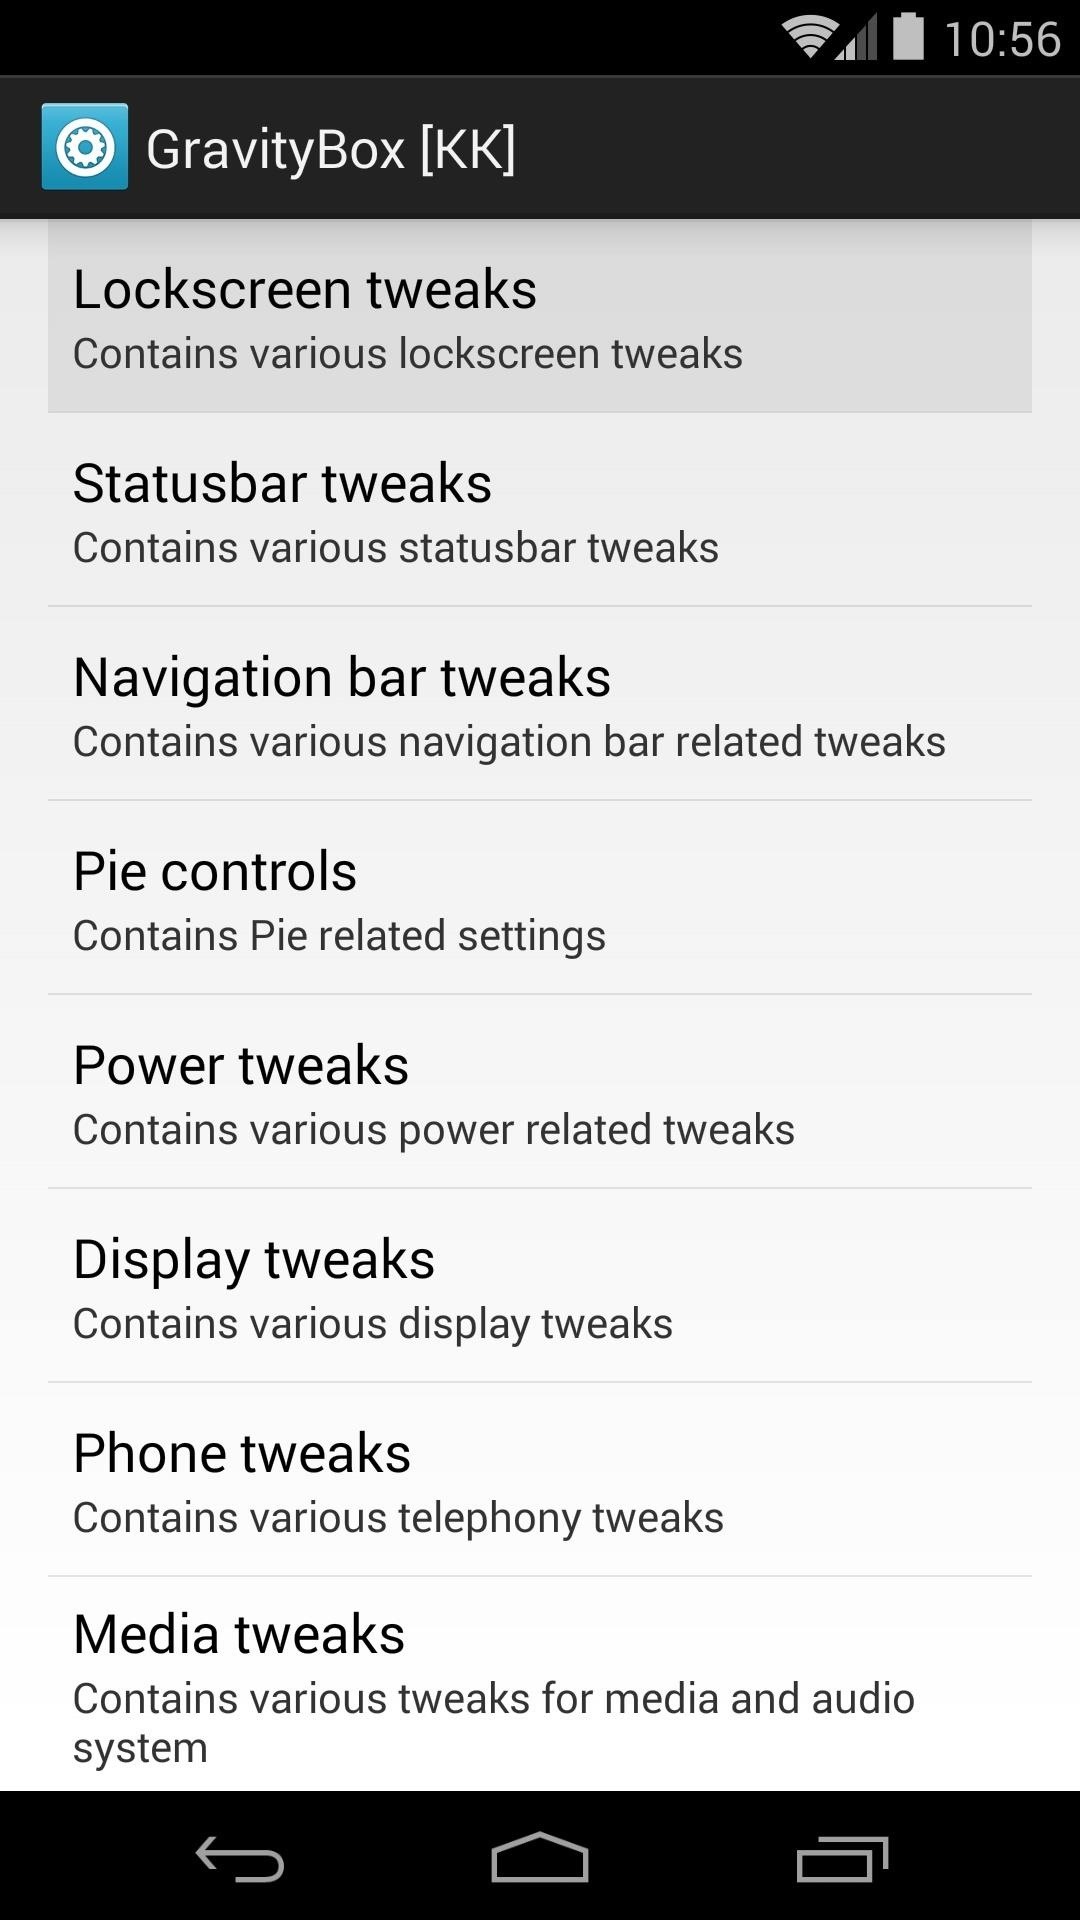
Step 2: Configure GravityBoxFrom the main page of GravityBox, tap Lockscreen tweaks. Find the option titled Enable double-tap to sleep and tick the box next to it. Hit the back button on your phone to head back to GravityBox's main settings page. Next, tap Statusbar tweaks and tick the box for the setting labeled Enable double-tap to sleep once again.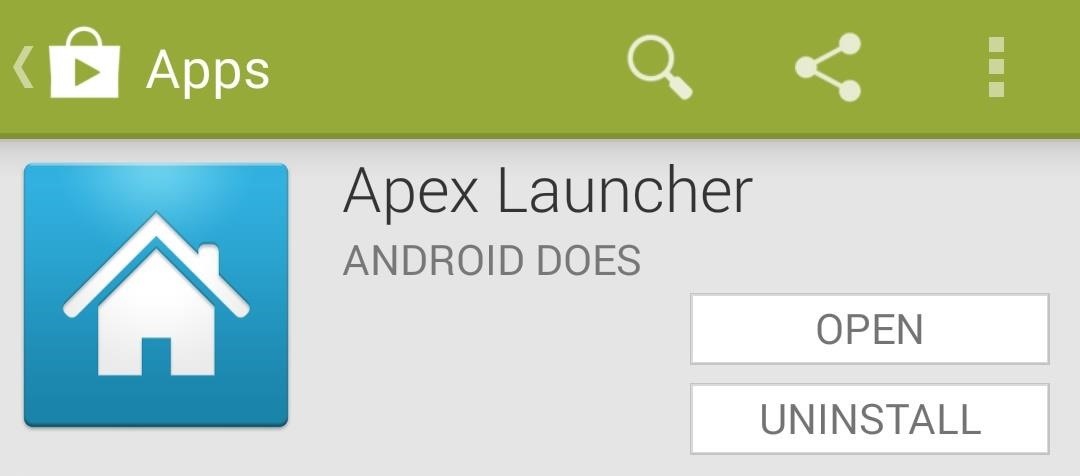
Step 3: Install Apex LauncherAs I said earlier, this feature is available on several different launchers. For example, if you're a die-hard Nova fan who paid for a Prime Unlocker key, you can still accomplish this without switching home screen apps. But since Apex offers this feature for free, we'll guide you through this process using it as the example.First, head on over to the Google Play page for Apex Launcher to install the home screen replacement app. Once installed, tap your phone's home button. A dialog will appear asking you to Select a home app. Tap Apex Launcher, then hit Always.
Step 4: Configure Apex SettingsFrom the home screen, double-tap any empty space to bring up the Apex Menu, then tap Apex settings. Now head into Behavior settings on the next screen. Scroll down a bit and hit Desktop double tap. Select Launch shortcut from the next list. On the next screen, select GravityBox Actions, then scroll down to the bottom of the list and tap Go to sleep. Since we've now overtaken the gesture that normally takes you into Apex settings with our Go to sleep function, we'll have to add a new way to access this menu in case we need to in the future.Tap Desktop long press, then select Show Apex menu. This will allow you to get back into these settings by long-pressing any open space on your home screen.
Step 5: Download the ElementalX KernelIn order to get the Knock On features, we'll need to install a custom kernel. ElementalX offers a nice, graphical installer interface that will walk you through enabling Knock On.For those of you using the stock firmware, or any other AOSP-based ROM on your Nexus 5, hit this link to download the kernel. If you are using CyanogenMod, tap this link instead.If you are unsure of which file to download, go to Settings, then tap About Phone. If the entry under Android Version says Cyanogen Version, use the second link. Otherwise, use the first link.
Step 6: Boot into RecoveryOnce you've got the kernel file downloaded, long-press the Power button on your phone. Select Power Off, hit OK, then wait for the screen to go completely black.Next, hold the Volume Down button with one finger, then hold down the Power button with another. On the screen that appears, tap the Volume Down button twice to select Recovery mode, then tap the Power button.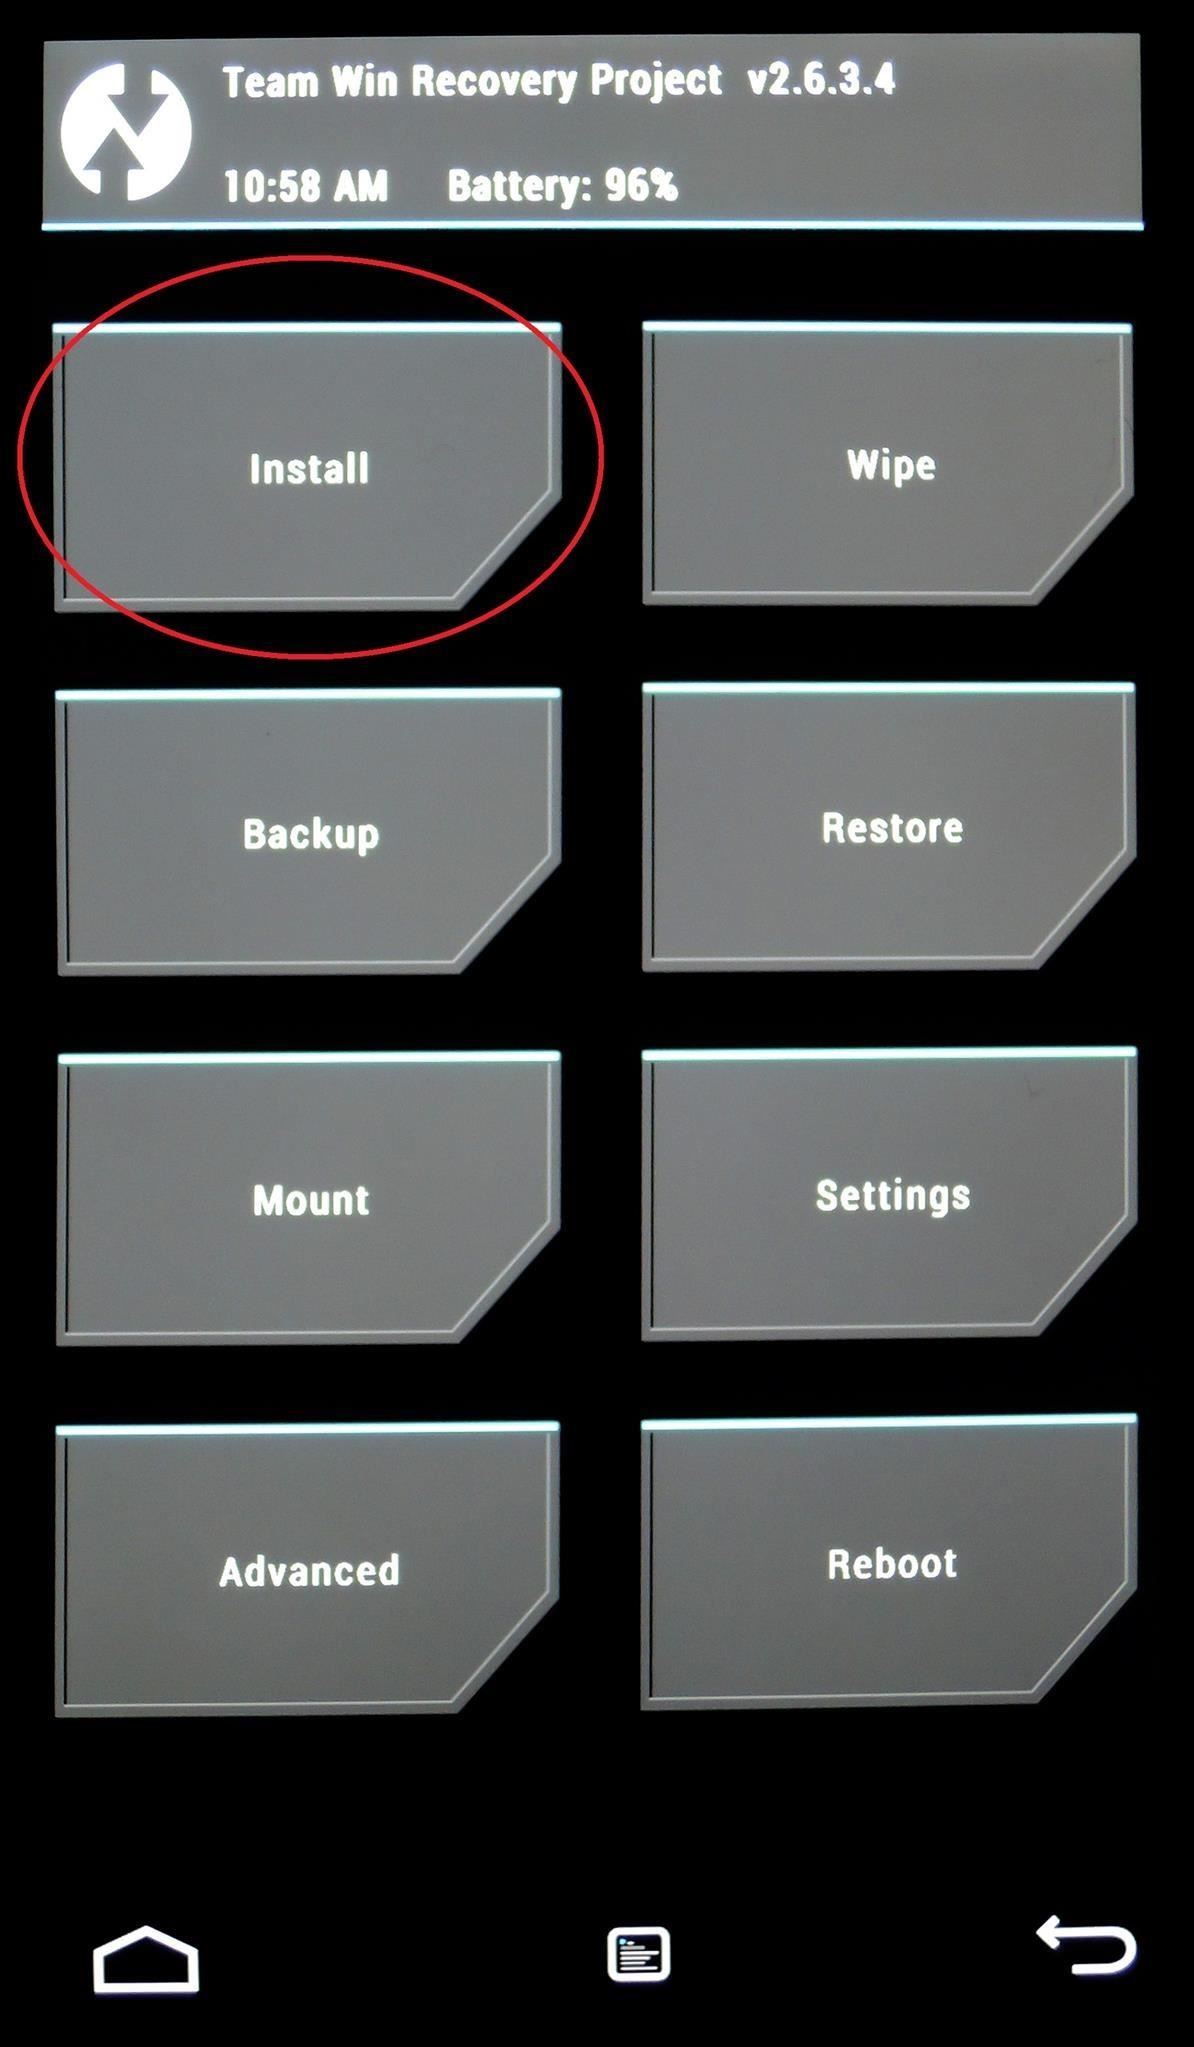
Step 7: Install the ElementalX KernelNow that you've booted into TWRP Recovery, be sure to make a backup of your existing setup if you haven't already done so, then hit the Install button. Navigate to your Download folder to find the ElementalX installer file. Tap that, then swipe the graphic on the bottom to start the install process. These next several screens are the ElementalX installation GUI. They allow you to configure several optional settings. Tap Next, then tick the box next to I agree with these Terms of Use and hit Next again. Most of these options can be left on their default values for our purposes today. Tap Next without making any changes to these pages until you arrive at a screen titled Sleep/Wake Settings. From the Sleep/Wake Settings page, tick the box next to DoubleTap2Wake fullscreen. Then hit Next two more times. Tap Install ElementalX to finish the process, then tap Next and Finish. On the following screen, hit Reboot System.
Touring the Knock Knock FeaturesOnce you're booted back up, you will be ready to use all of the Knock Knock features. Double-tap the screen to wake your Nexus 5, then double-tap the lock screen, home screen, or status bar to put it back to sleep.If you decide to return to your Power button for sleep and wake functionality, simply deactivate GravityBox, turn of the features in Apex, and flash the stock Nexus 5 kernel from recovery.If you really dig the Knock Knock features, try combing them with the entire LG G2 look and feel. Check out the full guide on turning the Nexus 5 into an LG G2 clone by Jesse for more info.
Etapa 1: obter o instalador do Xposed. Pegue a última versão do Xposed Framework de Aqui. A maneira mais fácil é fazer o download do arquivo diretamente para o seu Nexus 7. A partir daí, vá em frente e toque no arquivo baixado da sua bandeja de notificação e ele será instalado como qualquer outro aplicativo.
What is Xposed Framework For Android & How To Install It [Guide]
How to Use Your Samsung Galaxy Tab As a Phone. Don't let its size fool you. Though it's actually considered to be a tablet, a Galaxy Tab can still be used as a smartphone.
7 tips and tricks for Samsung's Galaxy Tab S3 - CNET
xda-developers Android TV Google Chromecast XDA Developers was founded by developers, for developers. It is now a valuable resource for people who want to make the most of their mobile devices, from customizing the look and feel to adding new functionality.
The Samsung Galaxy S8 and S8 Plus were announced today, as were new versions of the Gear 360, an updated Gear VR with a motion controller, and a competitor to Siri and Google Assistant. Months of
Galaxy S9 and Gear VR: How not to break your new phone
If you want to restart your Netflix account to get back to watching your favorite TV shows and movies, simply sign in to Netflix.com and click Restart Membership from any profile except a Kids profile. If your account is inactive, you'll be asked to restart your membership once you sign in to Netflix. Your billing date will change to the date
Going to take in and appreciate the art can be a fun way to pass the time, but make sure you're practicing good gallery etiquette. Watch this video tutorial and learn how to act at an art gallery. With increasing wealth, leisure time, and opportunities for employment, more original art is available to the masses.
The problem with Google's Art Project - Telegraph
How to Customize the Size of the Quick Settings Button Layout on Samsung Galaxy Devices. Google introduced actionable quick settings toggles from the notification bar in Android Lollipop, but
Change the Quick Settings Toggles on Your Samsung Galaxy S4
Now that you are on the main screen to calibrate the display, you will be presented with several settings that can be customized to your needs. We will explain each of these below, so you get a better understanding of the effect they have on your monitor.
How to Calibrate the Colors of Your Pixel 2's Display with
Immersive Mode removes the status bar, which is where your pending notifications, time, and system icons (Wi-Fi, Bluetooth, mobile network, battery status, etc.) reside, as well as the navigation bar, which is where your soft keys (back, home, recent apps) are located.
How to control your Android device's volume by swiping on screen raise and lower the volume of your phone by swiping the edge of the screen. What is even more special about this app is that
Get Sliding Gestures for Seamless Volume Control on - Android
3 Ways You Can Use the Instagram Archive Feature. When Instagram's Archive feature first rolled out in mid-June, a lot of people took it at face value (including us!) But since then, we've totally fallen in love with the versatility of the feature! Here are 3 great ways you can use Instagram Archive for your own Instagram strategy:
How To Archive Instagram Posts Or Stories | TechUntold
When you're using vacuum power, moving water, or compressing air, it's more than likely being done with some sort of pump. I'll be needing a pump for some of my future projects, so in this tutorial, I'll be showing you how to make your own customizable PVC hand pump that will let you do all three.
How to Make a PVC Water / Air / Vacuum Pump!
0 comments:
Post a Comment